Virtual Reality Independent Study
My goal is to try crafting a short narrative by translating one of my 2D storyboards into a fleshed out 360 degree virtual world!
Before I could begin crafting the world, I needed to explore the rules of virtual filmmaking and learn the tools used for building the content.
There were three main tools that I would explore:
- Oculus Quill - A virtual drawing and animation tool
- Maya - A 3D modelling, rigging, and animation software
- Unity - A game building platform that can be used to create interactive experiences
Quill Day 1 - Exploring the UI and Features
Isn't it beautiful?Quill combines drawing and sculpting at the same time, so while a line might look good at one angle, it is totally out of place from another angle.
This was a messy and slightly dissorienting first experience in VR! I actually managed to create a few frames of animation. You may notice a certain mouse that escapes copyright laws. I use Mickey as a tool to explore new design tools since he is relatively easy to draw.
Quill Day 2 - Learning the Animation Tools
The red and blue ghosted images represent the drawings before and after the current frame. In traditional animation it is called "onion skin" and it allows the animator to plot their action more accuratley.
Quill Day 3- Pushing Drawing Quality and "Sculpting" in Virtual Space
The incredible thing about Quill is that it allowed me to exctract and warp the lines to create a sense of volume! I see great potential in storyboarding with these tools.
Creating a clean line in virtual space is a bit difficult without any feedback from physical material such as a canvas or an easel. As an experiment, I imported a frame from one of my storyboards and traced it.
Quill Day 4 - Building a World in VR
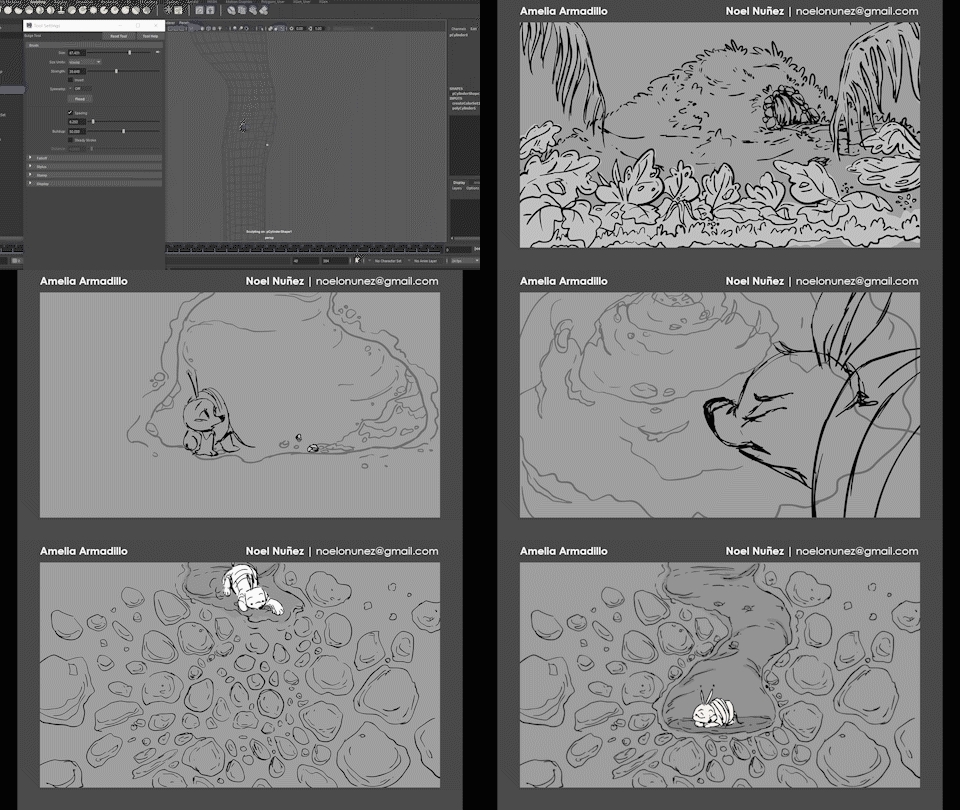
My goal this Summer is to create a virtual experience based on my storyboard called, "Amelia Armadillo".
Here, I'm exploring how feasible it is to create a set piece in Quill and importing it into Unity. This is a hill that Amelia lives in.
Quill Day 5 - Translating an Image
In a effort to get more comfortable with the design tools, I thought it would be a good idea to reference an image when creating a design in Quill.
With this particular image, my goal was to figure out how to multiply the geometry to create objects such as foliage.
I also discovered that coloring the geometry was not as easy as choosing a color and filling an area of the mesh. Each piece of geometry is basically a large lego brick with one color.
Quill Day 6 - Deer Image Translation
Quill Day 7 - Windmill Animation | Color | Shadow
The strangest aspect of Quill is that there is not an actual light source in the scene. Everything is a color stroke applied to a 3d element. Any shadows or highlights need to be drawn.
Quill Day 8 - Fish Animation | Effects |"Puppeteering"
One of the benefits of using Quill is that you can grab a drawing, manipulate it like a puppet, and record it in real time. The bubble effect is a brush stroke recorded over time, and once again, the shadow does not exist, it had to be drawn!
Quill Day 9 - Amelia Character Build Test
Here comes the moment of truth, will I be able to build a quality rig of the main character in Quill, animate it, and produce a short film from it?
NOPE!
At least not yet. At this point I have not been able to bring the model design to high enough quality to my liking. The lines are just too sketchy. I also couldn't get the rig to work! If I can't figure this out soon, I'll have to move into Maya and create a rig in there.
Quill Day 10 - Advanced Character Build | Simple Shapes for Construction
"Take a deep breath and don't freak out", is what I would have to tell myself repeatedly. I knew that it was possible to make intersting images in Quill, but I was struggling. Granted I was still new to the program, but the clock was ticking to produce something of substance!
In an effort to create a narrative piece, I planned out my idea on paper with a sketch based on a the randomly chosen word, "decipher".
I was going to make this work. This time I would avoid using lines and focus on building the scene with simple shapes.
Quill Day 11 - Character Rig FAIL
This blue person was supposed to move. It did not.Quill Day 12 - Character Rig SUCCESS!
It moves!Notice that this simple little fella is missing a few limbs and detail. There is a good reason for this.
It takes a long time to:
- Draw a character
- Build a Rig
- Animate the Rig
That's a life lesson!
On that note: time to quit using Quill
You read that correctly! I have a goal and there is much still to be done.
- Build a visually appealing character rig of Amelia that can move and act
- Build the world she lives in
- Create dynamic virtual elements that the user can interact with, such as buttons and U.I.
- Figure out how to make the virtual camera, direct the viewer's eye without dissorienting them and tell a cohesive story.
Storyboard for Shot 1
This is what I will be working towards. I need to build a set and place animation of Amelia in the world.Unity - Creating a Virtual Environment
This is the tutorial I used to help me get started:Unity - Import Model and Animation from Maya
I knew that Amelia would be animated in Maya and imported into Unity. This is something that I have never done before and so I figured that a simple character rig would be ideal to figure out the process. This character is basically a bouncing ball. Interstingly, it had a tail that did not get imported into Unity!
Unity - U.I Button | Best Practice | Raycast Pointer
In order to transition between scenes, I decided that it would be best to give the user control of when they want to progress in the story. I also figured that it would provide a very simple, but important sense of interactivity to the virtual experience.
In a virtual environment, it is good practice to have the UI elements in the world as opposed to attached to the camera. If the UI elements are stuck to the camera, it can lead to disorientation.
One of the biggest lessons that I have learned in the developing interactive content, is that it is pivotal for the user to receive feedback when an interaction is supposed to take place. The "raycast" is a visual depiction of what the user's controller can affect.
Unity - Physics Collider Surprise
To my surprise, animated assets that have a collider attached to them can interact with other game objects! This could have interesting applications...
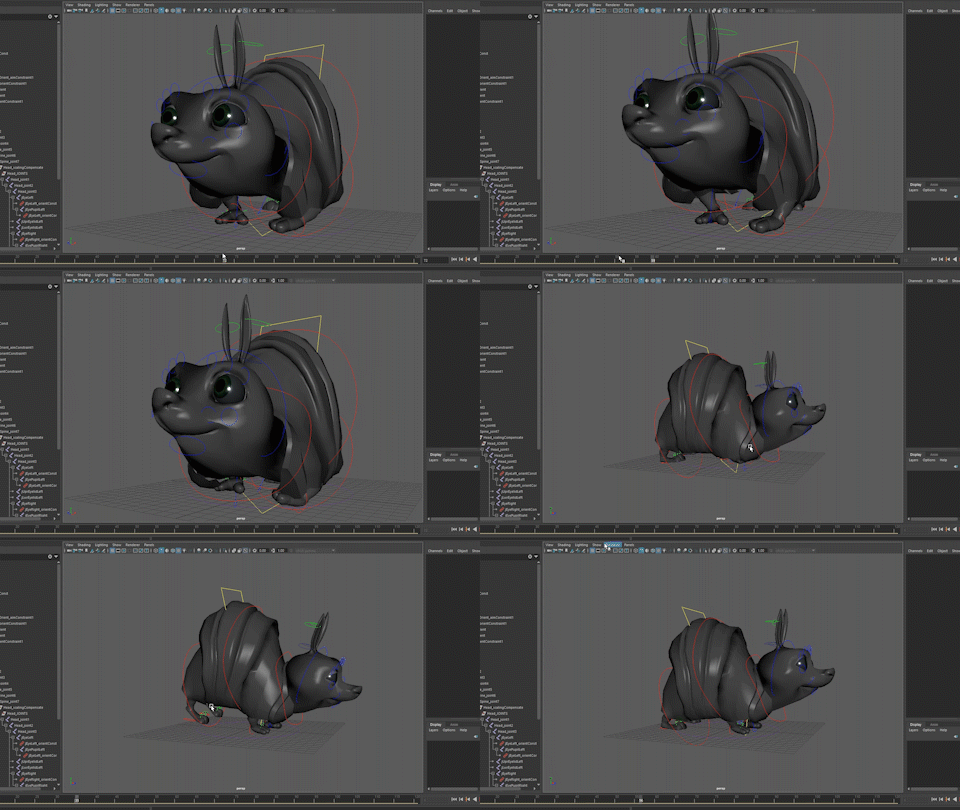
Maya - Modelling Amelia
With time being of the essence, I scoured the internet for a decent armadillo rig. Alas, I found a squirrel that would have to do. I heard tales of modifying existing rigs, so I set out to try my hand at converting a squirrel into an armadillo.
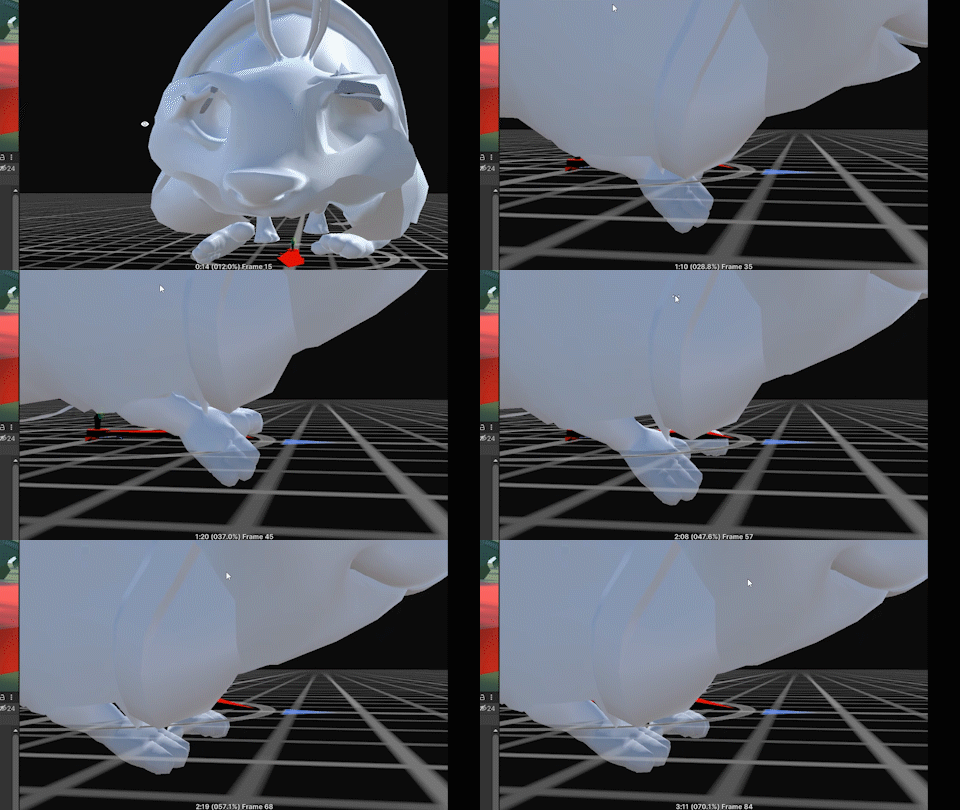
Maya - Animating Amelia
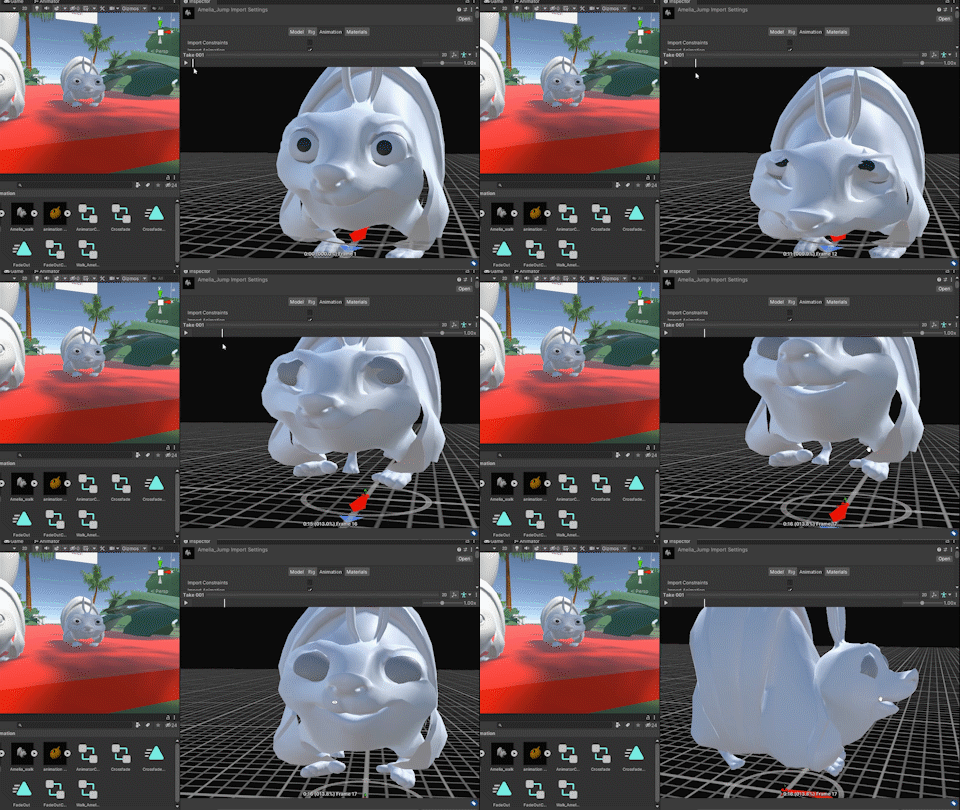
Unity - Importing Animation FAIL
Your name shall be, "Mr. Winky".Well wouldn't you know, Unity does not import deformers, so the model still looks like Squirrely, and the animation keys did not translate properly either.
- The solution was to detach the original Squirrely mesh, bind the Amelia mesh to the skeleton joints, copy the original painted weights and apply them to the new skin. Got all that?
- The animation keys need to be baked into the shot in Maya before importing the asset into Unity.
Maya - Amelia Animation Test # 2
Unity - Importing Animation FAIL the Sequel
Troubleshooting. That is what this is.
Unity - Taking Out Aggression
They deserve this.
Unity - Transition to a New Scene
It is interesting to note that the fade out to black effect is not visible through the VR goggles, so I need to figure out a solution to make the transition less jarring.Maya - Building Shot 1
Unity - Intro Sequence
Unity - Putting Everything Together
After assembling the animation, the set, virtual camera, user interface, code, audio, media triggers, and other post processing such as color correction, we finally have a completed shot (and a a half). Below is a video capture as seen from the VR goggles. (Note: there is audio.)
All that is missing now is some narration, sound effects, and about 100 more animated shots. Below is an earlier work in progress (WIP) version of the shot
- The shot begins with the title appearing in front of the user, encouraging them to look in that direction.
- A menu item appears that indicates that the story is ready to begin as soon as the user is ready to launch it.
- Upon clicking "Let's Begin", a series of events are triggered:
- A musical score begins to play(Borrowed from the film "Mirror, Mirror")
- The title fades and the menu item disappears
- The main set is revealed
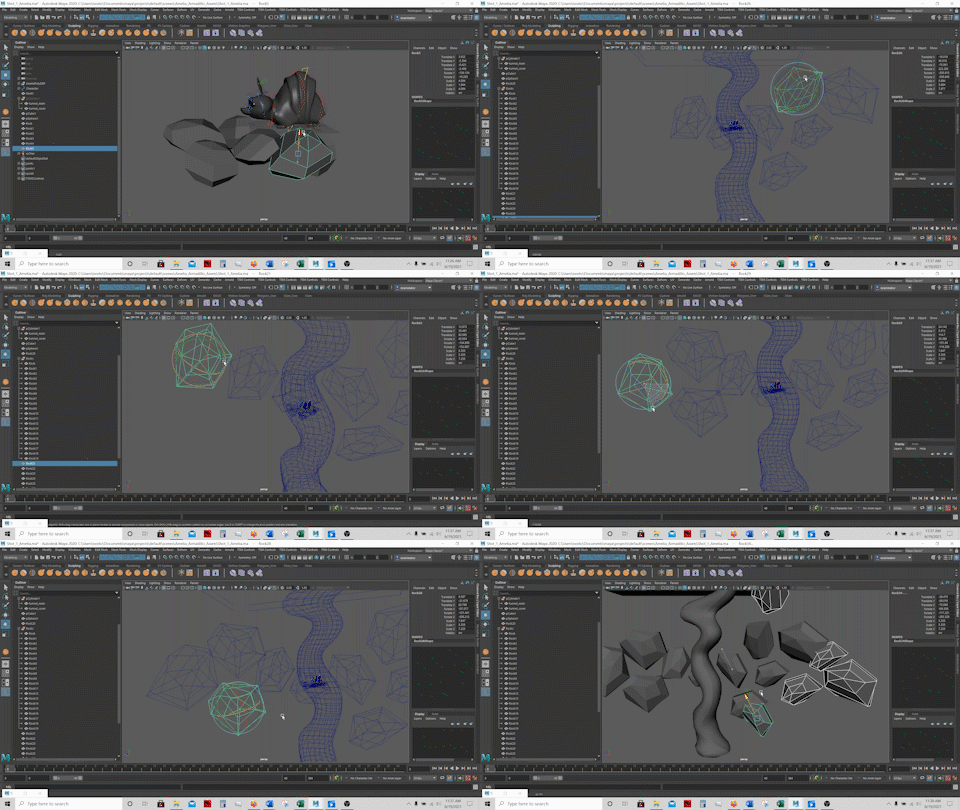
- Unity's Cinemachine is used to activate a camera move, Amelia Armadillo's animation, and another animation track for the rocks that get destroyed.


