Building Virtual Worlds - 4 - Roman Art History Collaboration
The Assignment
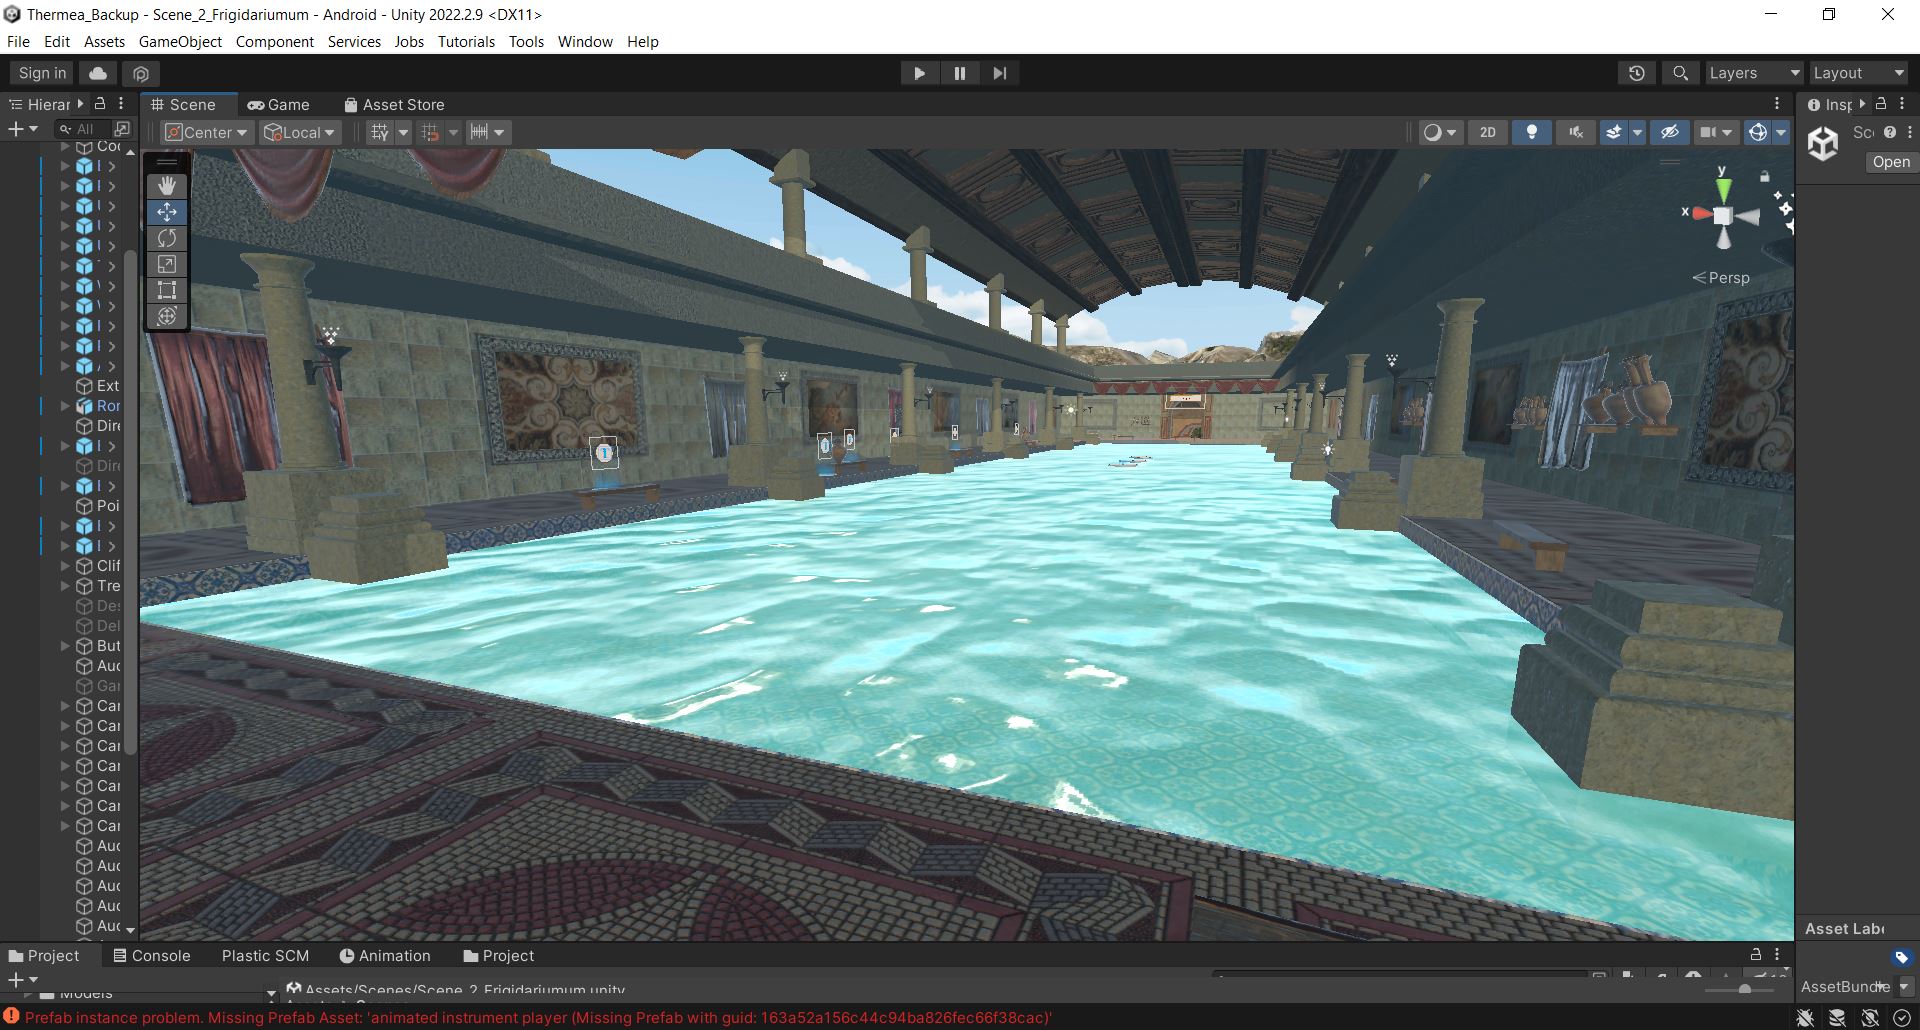
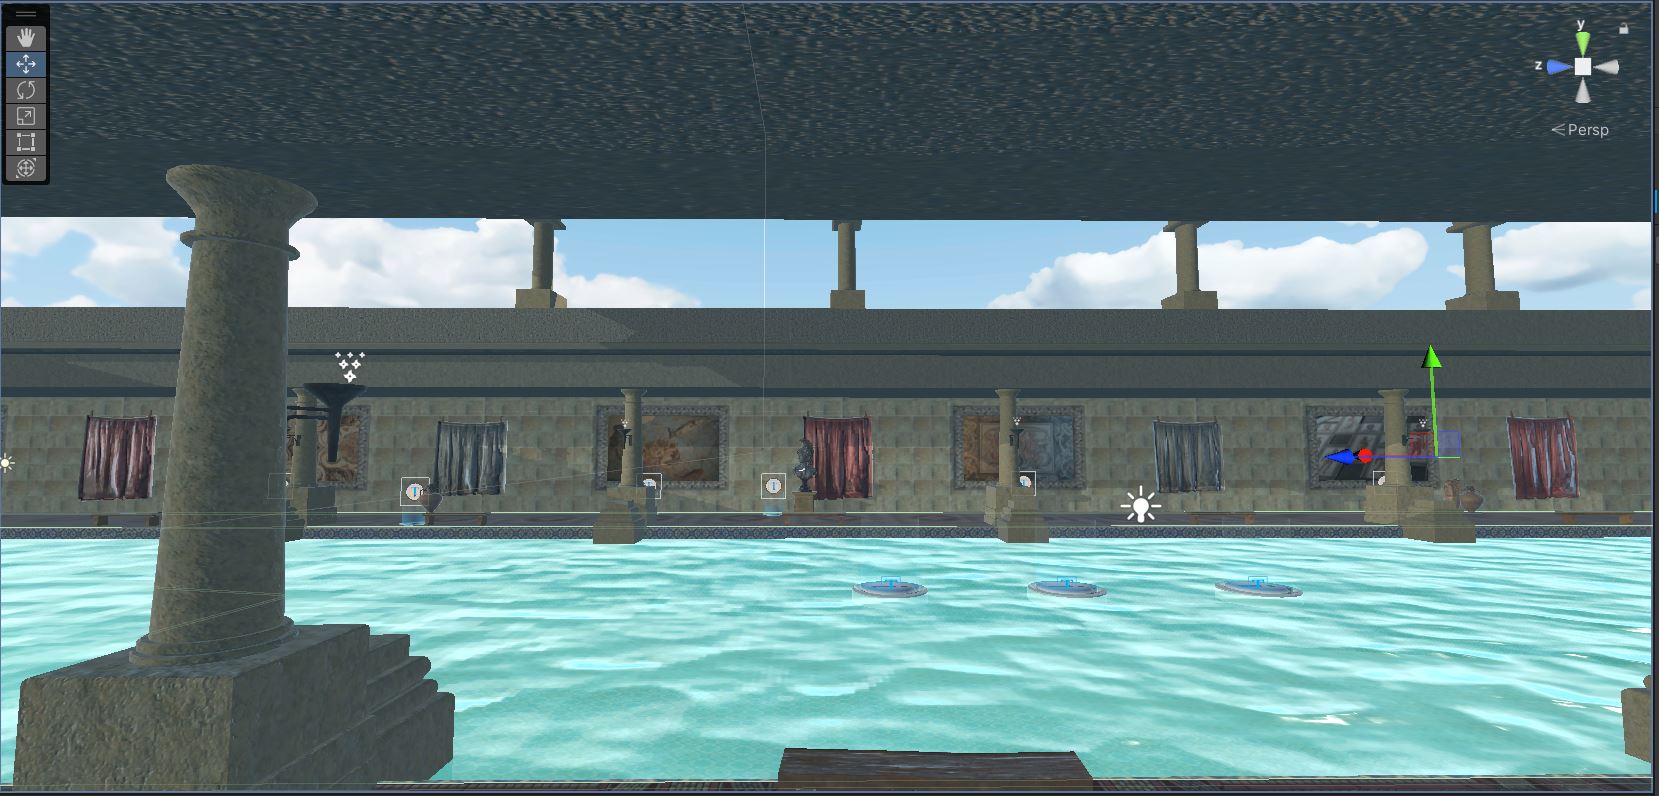
Teaming up with art history students, our class had just three weeks to develop a functional virtual reality experience. Choosing 'Thermae - A Roman Bathhouse Virtual Experience' as my group's project, we were fortunate to have clear design goals and assets at the ready. With no time to waste, we quickly set to work, bringing their vision to life.
The "Final" Product
(It actually needs some refining but this will have to do for now...)
My Role
My role was to bring together all of the assets and to make sure that there was uniformity in the final product. In addition I was responsible for writing the scripts that triggered interactions such as:
- Teleporting to specific areas of the scene
- Revealing and hiding information
- Playing specific animation "takes" created by Ace
- Designing Menu Interactions
- Incorporating animation created by Ace
- Use UI design by Natalia
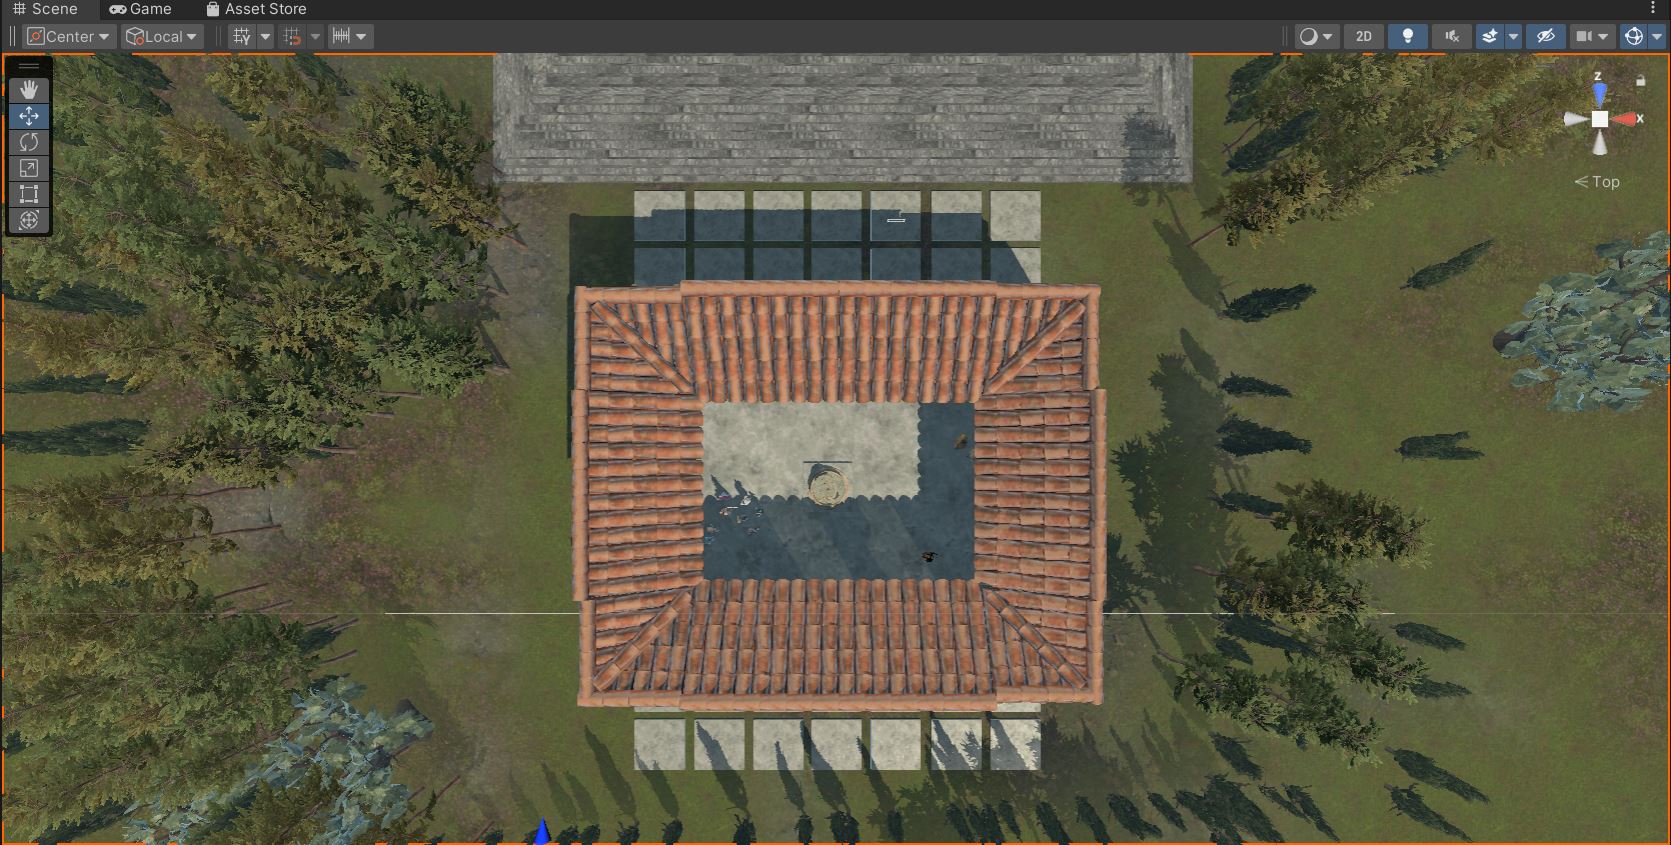
- Designing the Terrain and laying out the game object assets
- Spacial audio design
- Inserting audio sources
- Launching audio on icon selection
- Working with the project technical coordinator to make sure everything was working correctly.
Challenges and Complications
The biggest challenge that I faced was managing the file size of the file. The project grew to be whopping 29GB at one point, which made collaborating with my team very difficult.
I would scavenge the document and look for unused assets to delete and asked Ace to reduce the polygon count of one of the animated characters.
Another challenge was seeing the experience from the preview window in my laptop did not correlate 1:1 with the view inside of an Oculus head set. The UI looked different and the height of the "player" was different. As a result there was a lot of going back and forth to find a comfortable experience for the user.
One of the most confounding problems was that the water shader asset (an integral aspect of this project!) would only render in ONE EYEBALL while using the Oculus headset. What a shame. As a workaround, I found a nice, simple, non-moving water shader and applied it to a plane. My goal, time permitting, is to figure out how to animate the pattern of the simple shader.
Images
 |
 |
 |
 |
 |
 |
 |
 |
 |
 |
 |
 |
The Code
Logo Scale Script
I wanted the logo to have some animation to it. With the help of ChatGPT I managed to make a script that would allow me to scale a Canvas Image element over a period of time. The script is applied to the main canvas and from there you would drag the image element that you want to scale.
 |
|
Button Appearance Delay Script
The main menu is created with two main elements: (1) A 3D animated scroll Game Object (2) A canvas with buttons overlaid in front of the 3D scroll.
Since the scroll had animation of it opening, I could not reveal the buttons until AFTER the scroll was fully open.
The execution of this script was a little tricky. I had to disable the setactive of the buttons and only make them enabled when the scroll icon button on the left hand side to the screen was selected. The active buttons would then execute the script to delay the appearance.
 |
 |
Fade Out to Specific Scene Script
 |
Other Technical Techniques
Setting Teleportation Areas
I created an Empty Game Object and added a Box Collider to it. I then added a Teleportation Area script to it and placed it in the areas that I wanted the user to access.

Triggering Audio on Button Click
I used the built-in "On Click" demand found in the button and created a set active for each audio file that wanted to be affected by the button.

Creating an Animation Controller and Determining Animation Clips
This was fun to do! Ace gave me a fully animated model with several "clips" that I could choose from. Each clip can then be added to an "animation controller" which creates an order of operations for the animation to be played. The "animation controller" component is then added to the model that you want animated and it should be set to move!
 |
 |
Conclusion
This collaboration allowed my team to readily jump into the technical aspects of a project without having to worry about the research phase of development, and the preparation done by the art history students ultimately helped us to accomplish quite a lot in such a short amount of time. This was a fun learning experience and I am proud of the work that my team produced!